What is a DJ controller?
Previously a DJ controller was the physical aspect of controlling a DJ software. It had a mixer section that worked the job of a DJ mixer without any actual sound passing through the device.
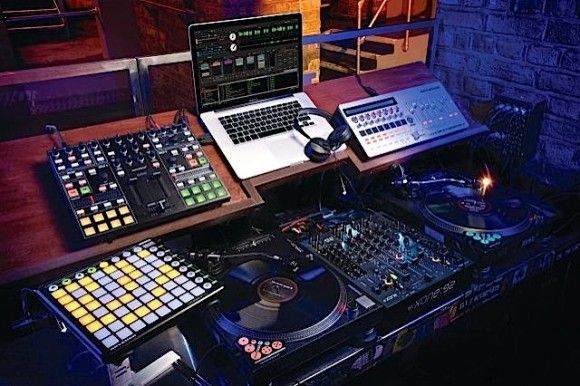
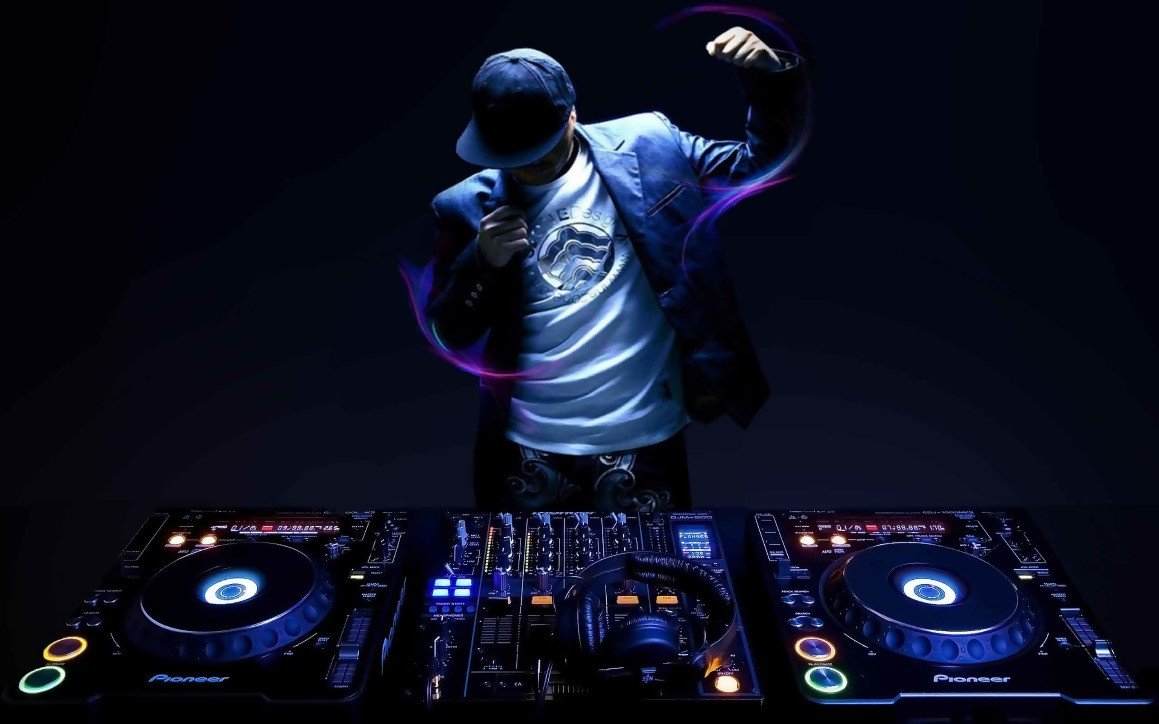
Today the controllers come with a built-in audio interface and external inputs. Controllers can be an all in one package where there are two players along with a mixer section.
The market of music and DJ equipment has grown to come up with several options on devices like DJ controllers.
This piece of digital equipment is connected to a computer.
As mentioned above, it is a very versatile mix between DJ turntables and DJ mixers.
However, there were some necessary significant advancements made to it over time.
What is the purpose of owning a DJ controller?

Djing is more of an art, and there are as many technical requirements as there is theory.
For a DJ to hone their skills and showcase their prowess to a real audience, having some top-grade DJ controllers is non-negotiable.
Dj controllers offer a considerable amount of convenience to users, which explains why many embrace the idea of it.
Two decades ago, a DJ had to go through numerous vinyl records and CDs to find the tracks for a particular audience.
Today, all you need is a DJ controller and a computer to make the music pop.
How to use a DJ controller?
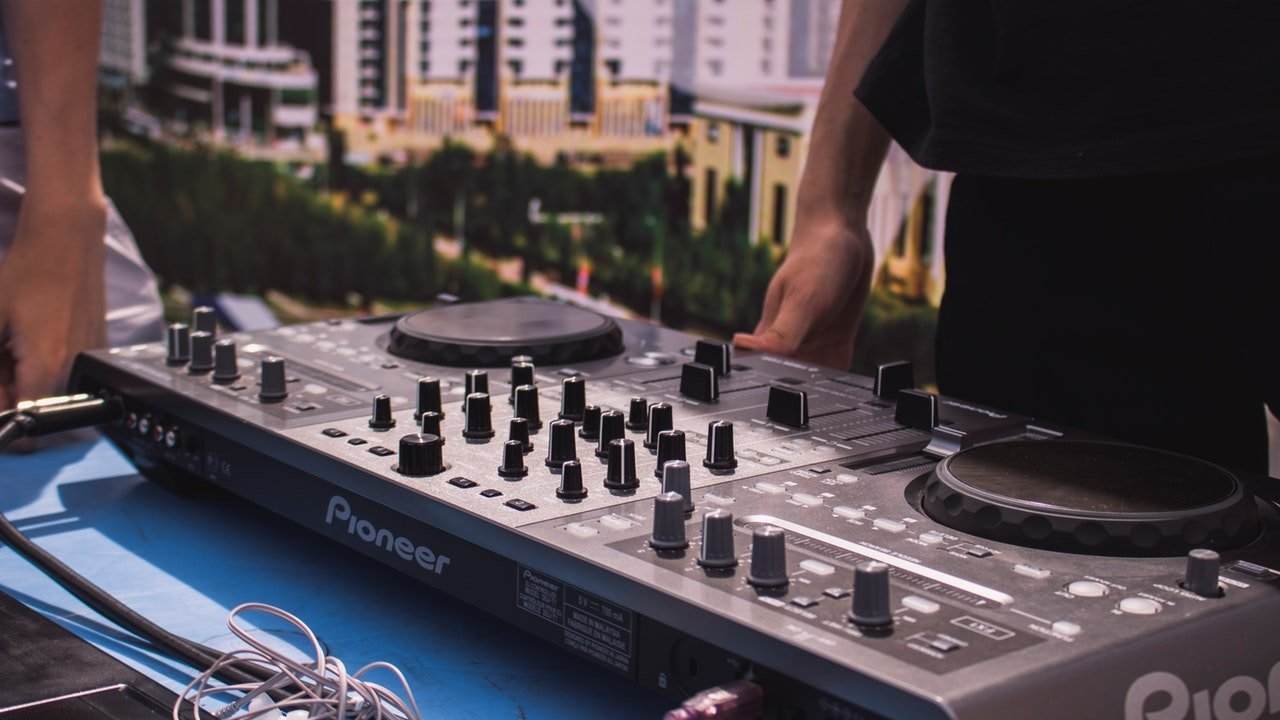
DJ controllers happen to be one of those pieces of musical devices that have been evolving rapidly ever since their launch in the year 2004.
The earliest controllers came with a sound card supporting six channels with two ports, namely MIDI and SDIF.
They also had controls in the form of CD styled buttons, the traditional mixer cum style faders, equalizers, crossfaders, and the jogging wheels.
But the genuinely elaborate DJ controller for DJing came out later in 2007. This device could imitate a DJ mixer along with two turntables.
This was a new and dazzling device at the time. After this, many changes were introduced. Starting with the integration of the soundcards.
The purpose of this was to be able to control the device’s software without taking the help of a timecode signaling technique.
This was possible because of the technology allowing software manipulation of the controller with the help of HID.
Many brands, later, started to introduce their unique innovation into the manufacturing of the piece, making the entire endeavor even more enjoyable.
The goal has always been to help the user to have ease of use. Today, the available devices are even more efficient and robust with the help of new specifications such as performance pads, effects, and LCD screens.
The coveted device carries a small microprocessor inside of it. This microprocessor is responsible for controlling the device’s software without the need to use the computer’s keyboard.
The only limitation is that the controllers cannot mix up sounds and other audio signals.
Working with a DJ controller and to make it function without an apparent glitch is not quite as easy as pressing a few buttons for the magic to happen.
Well, there is some button pressing required, but a professional DJ who knows their job well does a lot more than just that.
Some basics steps to learn the working of DJ Controller
- Setting up the Dj controller
- Pumping up the energy among the crowd
- Saying the beats into one tune
- Selecting the most suitable kind of music for a set of audience
- Working out the DJ skills and looks to smolder the onlookers.
Of all of the DJing equipment, the controller is something that cannot be replaced or avoided.
There is a function for all the controls on a DJ controller, but worrying about everything it offers is unnecessary.
The most important thing to consider first is the decks and the volumes on the deck.
Set the EQ and other settings to a preset mode and leave the different settings for later pondering.
These three channels on the deck, in case you are playing two CDs, there is channel one and channel two.
Bring the volume up to play the track on the cd player one or deck one.
Then turn up the volume on cd two or deck two.

For instance, cd 1 plays the melody, and cd 2 plays the lyrical part of the audio
One of the confusing concepts for a beginner DJ trying to work out a controller is the auxiliary channel. Let’s decode it in a few simple lines –
Auxiliary is another input channel. Let us assume; you want to play a track from your smartphone or an iPod,
Into the socket on the back of the deck, you can plug in the auxiliary input cable, and that becomes the volume for the auxiliary input.
Hence, enabling the user to play from not just CDs or vinyl records but any preferable devices.
If it is a cd that you are playing, set the control to cd on the cue gain, and master knobs.
How does a DJ controller work for a professional DJ?
- Almost all models of DJ controllers have ports for connecting the PA system, which is known as RCA outputs. These cables come in red or white variants.
- The other part of the controller then manipulates and controls the sound’s FX. They aid in delivering better performance.
- The song’s tempo can be manipulated as well by matching with the given BPM.
- The platter on the controller has two features – using the wheel to adjust the tempo or to match a second song.
- The feature in the previous point is limited to only a few models of the controller, but it is port to adjust the amount of tempo that can be used in resistance to the tempo fader.
- A professional DJ gets well acquainted with two of the basic channels, and that can help to add more of a unique streak to a track. Many device models can carry up to four decks. Switching between different channels is easy and smooth.
- The platters have a minimum of two critical features i.e., to scratch the tempo or to make it even smoother. There is a control button through which the DJ can toggle between two platters.
- Very few controller sports have the next feature. It gives the user access to using the drum pads. It comes in handy when there is a need to quickly stop a track during the transition.
- Upon pressing the hot cue button, the DJ can use the pads located below for jumping in between different cues.
- With the auto loop, one can create loops in different pieces of the song. It is a cool feature and very useful for creating instant loop during transitioning. The manual loop allows the person to create your own desired loops. It is as simple as pressing the manual loop button and using the pads underneath to mark the start and end.
- Pressing the sampler button allows the user to make use of the pads that can play the midterm FX. For better results, the buttons stop working once the touch is lifted off the pad. The Dj can scratch the audio while playing with the sample tracks.
- The play or pause button is used to play or pause a particular track.
- If the cue button is pressed during silence, a new track will be marked. In case of a heavy cue centered performance, the cue button can be touched again to mark play from the timestamp where it was paused until the hold on it is released.
- The sync function syncs the BPM on the rival channel to the BPM playing on the present channel.
- The sync button can also be used in exchange for the cue. This gives the user an option to access greater portability and ease of use.
- One of the bewildering queries for users can be the software to be used for their DJ controllers. Well, most of the controllers in the market come with a compatible software of their own.
- Many can work best only on a small amount of software, meaning they are precise. However, there are a few controllers that allow more flexibility and are compatible with a wide spectrum of software. There is much competitive software out there today, such as the ones from pioneer, Denon, Numark, and many more.
- This is more of an experiment, as the user should test out as many software as they can to find the one that works best with the controllers they own.
Setting up a DJ controller

The original module of DJ controllers is meant to combine two tracks for creating a mix.
The DJ control is programmed to pick up the audio signal from the computer instantly when the two are linked together.
The DJ uses the controller to work and manipulate the audio by providing you with the right interface as the actions made by the DJ are being relayed back to the connected computing device.
The computer and its software are made for interpreting the data and executing the necessary actions.
It then sends it back to the controller. As most modules come with an inbuilt sound card, the sound is broadcasted directly into the speaker, amplifier, and other output systems that are connected to the setup.
The jog wheels or vinyl records are used to map the audio files. Hence stressing on the quality of the jog wheels is important as they are more responsive at stimulating the functions of a turntable.
A good model of a DJ controller will also have a DJ mixer built into them that allows signal modifications with the jog wheels.
Some essential tips on using a DJ controller
To save precious time, one needs to be aware of the basics of all the units that comprise a DJs weapon set.
It is advised to never avoid any professional advice while working with this equipment as they are indeed quite expensive.
- Doing your research well: before starting your practice, it is crucial that search a bit about the particular DJ controller who owns or is planning to buy. Answer questions like – whether or not the controller is compatible with the DJ software and if it needs more attention on its workings.
- A sound card: almost all of the DJ controllers available in the market come along with a built-in sound card. But it is never too much to recheck its availability or presence in the model you have chosen.
- Compatible music formats: carrying a USB drive with the best of your chosen tracks is a good idea.
- A slow but steady start: as an amateur DJ, the workings of a DJ controller can sometimes feel overwhelming. Hence, once you have set your equipment, it is important to get a good feel of the device’s buttons and what function each one has. Once base knowledge is acquired, and you are comfortable with the knowledge of the button layout, you can begin to combine a few tracks and test out some effects or filters.
Conclusion
Unless the setup of the control and the computer or the pa system is not accurate, the output will not be as optimal as the devices are promised to provide.
Hence, the user should educate themselves before going ahead with the workings.
It is easy to damage the equipment with a small mistake. Moreover, they are considerably expensive and hence not very easy to replace.
Taking the help of an engineer or a highly experienced DJ is the best idea.
Being mindful of the genres and the application of selective techniques will help a DJ in the long run.
It is essential to sample the music beforehand instead of directly applying it to the subject audience.
Learning to work out a DJ controller is undoubtedly not an easy task. However, as long as one keeps to it, there is more fluency with the equipment.
The amount of controls mounted on the deck of the controller is confusing for the amateur. But practice makes perfect.
